
Learn OpenSCAD: Accessible 3D Design for Blind and Sighted Makers
OpenSCAD is the most accessible 3D design tool I have found so far as a blind maker. Instead of clicking, dragging and visually adjusting shapes, I build models by writing code. That means the design can be read, edited, searched and understood with a screen reader.
I am Edis, and OpenSCAD has become one of the main tools behind my 3D printing work. This is not a complete manual. It is a practical introduction to why I use it, how it works and why text-based CAD can be useful for blind and sighted makers.
Why I use OpenSCAD
Many CAD programs are built around a visual workspace. That can work well if you use a mouse and can see the model clearly, but it creates barriers when you rely on a screen reader.
OpenSCAD works differently. I describe the object in text. A cube has dimensions. A cylinder has a radius and height. A part can be moved, rotated, copied or subtracted using commands. That makes the design process more precise and more accessible for me.
What makes OpenSCAD different
- I can write designs as plain text.
- I can use a keyboard and screen reader instead of a mouse.
- I can change measurements by editing variables.
- I can keep designs under version control.
- I can reuse modules across different projects.
The tradeoff is that OpenSCAD asks you to think logically. It does not behave like a sculpting tool. I have to describe what I want in a structured way. For the kind of functional and tactile work I do, that is a strength.
Your first shape
A simple OpenSCAD model can be one line:
cube([30, 30, 10]);That line creates a rectangular box that is 30 mm wide, 30 mm deep and 10 mm high. OpenSCAD uses millimetres by default, which makes it natural for 3D printing.
Basic shapes I use all the time
- cube([x, y, z]) creates a box with width, depth and height.
- sphere(r = 10) creates a sphere with a radius of 10 mm.
- cylinder(h = 10, r = 5) creates a cylinder 10 mm tall with a 5 mm radius.
Those simple shapes can become much more useful when I move, rotate, combine and subtract them.
Parameters make designs easier to change
I avoid burying important numbers deep in the code. If a model needs to change later, I want the main dimensions near the top.
box_width = 60;
box_depth = 40;
box_height = 12;
cube([box_width, box_depth, box_height]);
Now I can change the width, depth or height in one place. That matters for custom work, because many designs need to be adjusted for a specific person, object or printer.
Combining and subtracting shapes
OpenSCAD becomes powerful when I use boolean operations. I can add shapes together with union(), remove one shape from another with difference(), or keep only the overlap with intersection().
difference() {
    cube([60, 40, 12]);
    translate([20, 20, -1]) cylinder(h = 14, r = 5);
}
That example makes a block and cuts a round hole through it. The translate command moves the cylinder before it is subtracted. For example, translate([20, 20, 0]) moves an object 20 mm on the X axis and 20 mm on the Y axis.
Making OpenSCAD easier to work with
My OpenSCAD workflow depends on clear structure. When a file becomes messy, it becomes harder to understand with a screen reader and harder to fix later.
- I use clear variable names.
- I keep main dimensions near the top of the file.
- I split repeated geometry into modules.
- I comment code when the reason for a choice is not obvious.
- I test small parts before combining them into a full model.
The OpenSCAD customizer is still mainly a visual tool, so I do not rely on it with NVDA. If a file uses customizer variables, I usually edit those values directly in the SCAD file.
A practical example
A phone cover, tactile marker or small bracket can all start the same way: measure the object, define the important dimensions, build the main shape, then cut away the spaces that need to remain open.
For exact measurements, I use whatever source makes sense for the project. Sometimes I measure a real object. Sometimes I look up the official dimensions of a phone or part. Sometimes I print a test piece and adjust from there.
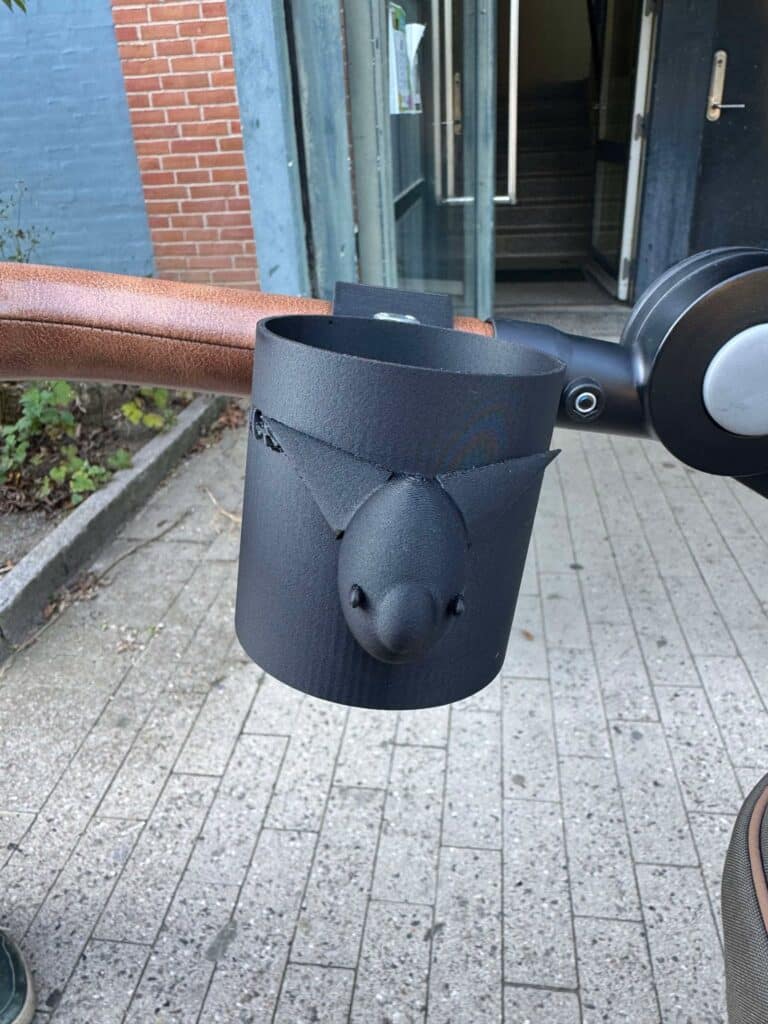
If you visit my STL Library, you can find OpenSCAD-based designs that show how this kind of thinking becomes printable objects.
Why this matters for accessibility
OpenSCAD matters to me because it gives blind makers a serious way into 3D design. It also makes designs easier to document and adapt.
A tactile design often needs exact spacing, raised details, clear labels and repeatable measurements. Text-based design helps me control those things. If a Braille label needs to move 2 mm, I can change a number. If a handle needs to be wider, I can change a parameter.
Mistakes I try to avoid
- I do not let a file grow without structure.
- I do not hard-code every number if the design may need changes later.
- I do not nest modules so deeply that I cannot follow the logic.
- I do not trust a design until I have printed and tested the relevant parts.
- I do not forget to back up files.
Final thoughts
OpenSCAD can look intimidating at first because it is code. Once I understood the basic idea, it became one of the most practical tools I had. I can design with text, revise with precision and build models that make sense through touch.
If you are blind or visually impaired and want to try 3D design, I think OpenSCAD is worth your time. If you are sighted, it is still worth learning because it teaches disciplined, measurable design.
I do not see OpenSCAD as the only answer. I see it as a very good doorway into accessible 3D modelling.
Comments
Leave a comment